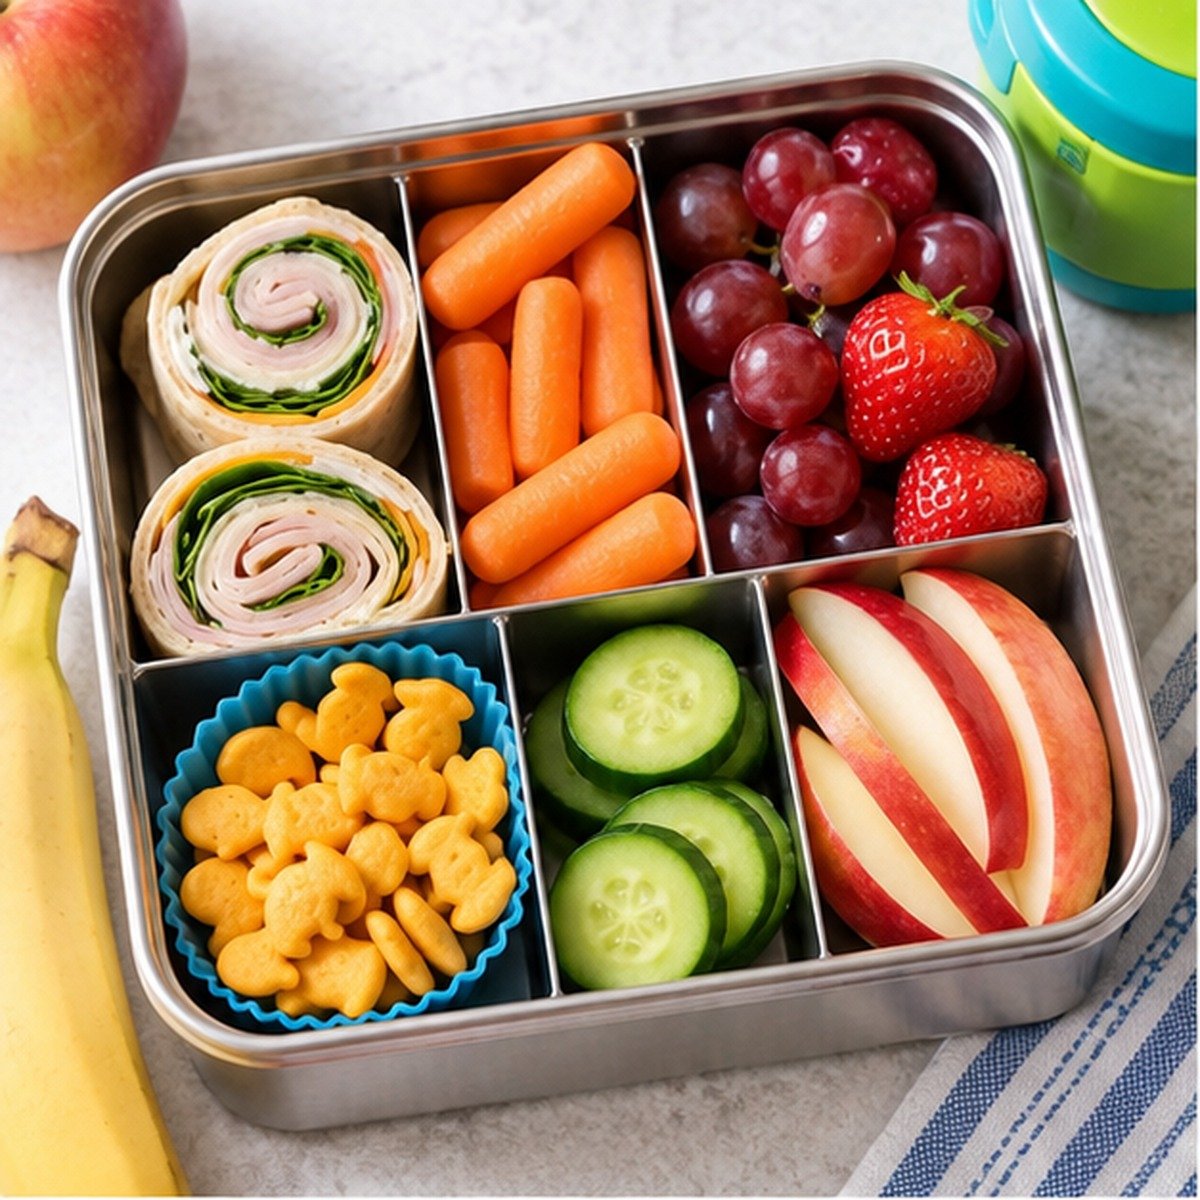
This guide turns each lunchbox idea into a complete lunch with measured ingredients and practical packing instructions. Adjust the portions according to the child’s age, appetite, school schedule, allergies, and medical needs.
1. Turkey Pinwheels
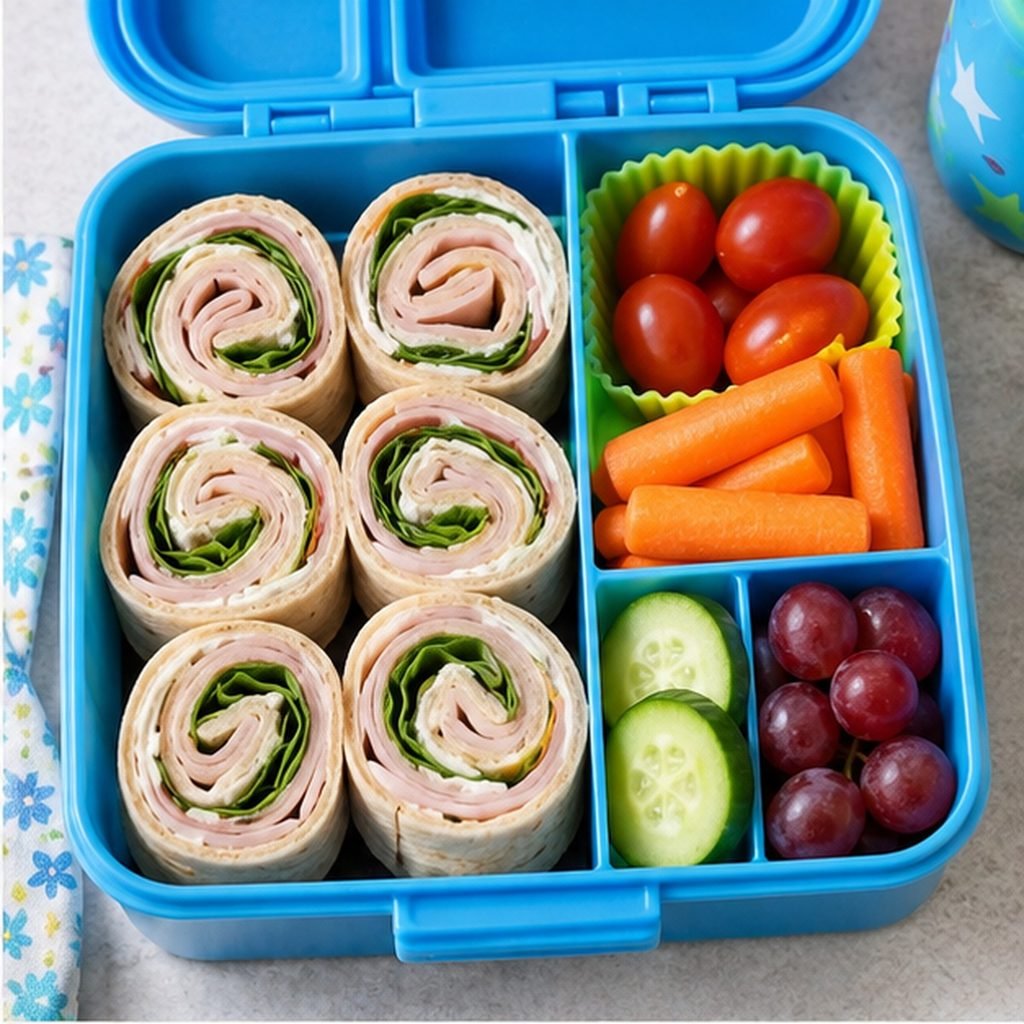
Ingredients for One Lunch
- 1 medium 8-inch flour tortilla
- 1 tablespoon cream cheese or hummus
- 2 ounces sliced cooked turkey
- 1 ounce sliced or shredded cheese
- 1/3 cup dry cucumber or bell-pepper strips
- 1/2 cup fruit
Preparation and Packing
- Spread the cream cheese or hummus thinly over the tortilla, leaving a small border.
- Add the turkey and cheese in even layers.
- Add a small quantity of thoroughly dried vegetables without overfilling the tortilla.
- Roll the tortilla tightly.
- Refrigerate it for approximately 15 minutes to help it remain closed.
- Cut the roll into four to six pinwheels.
- Pack the pinwheels with the fruit and a frozen cold source.
Make-Ahead Notes
The pinwheels can be assembled the evening before and refrigerated in a sealed container. Dry the vegetables thoroughly and keep juicy fruit in a different compartment to prevent the tortilla from becoming soggy.
Add the frozen cold source immediately before closing the insulated lunch bag in the morning.
2. Cheese and Cracker Box
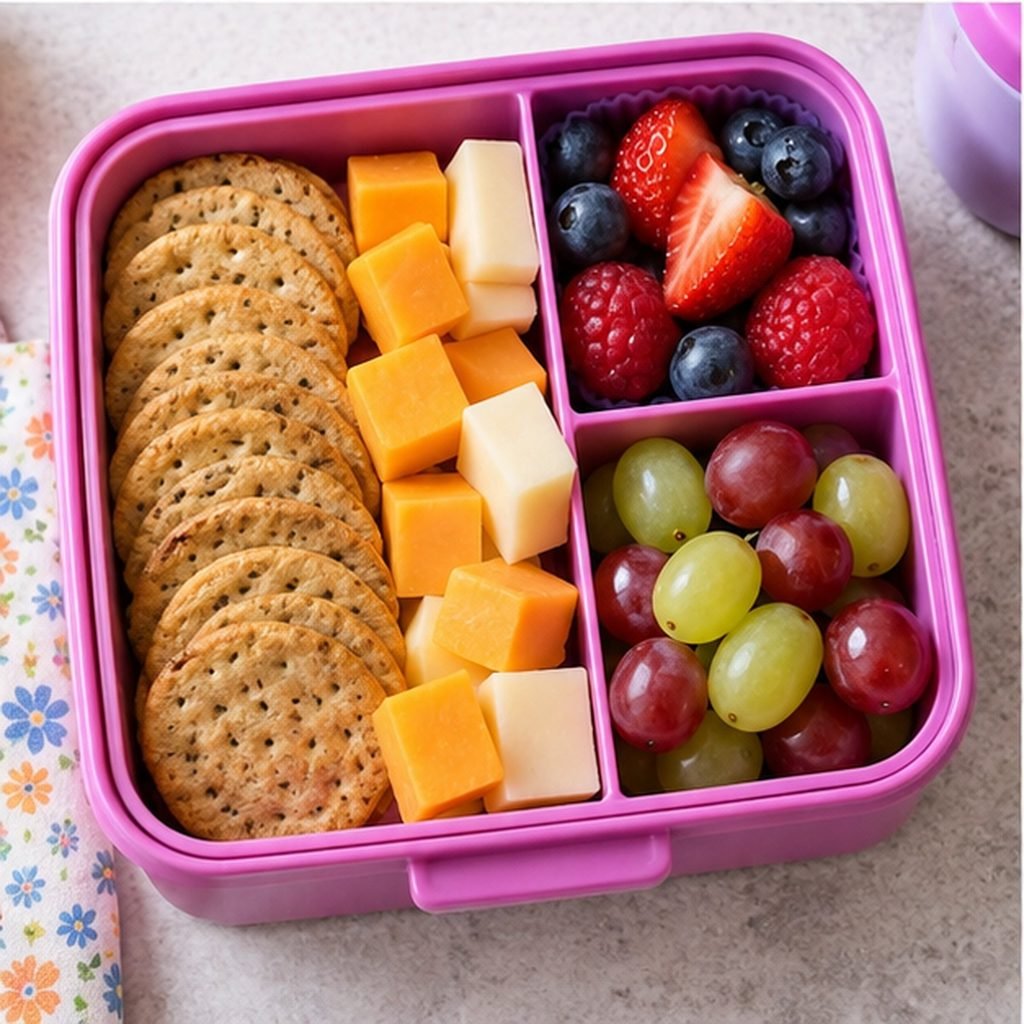
Ingredients for One Lunch
- 2 ounces cheese, cut into bite-size pieces
- 1 ounce cooked turkey or another school-approved protein
- 1/2 cup whole-grain crackers
- 1/2 cup cucumber, carrot, or bell-pepper pieces
- 1/2 cup fruit
- 2 tablespoons hummus or one tablespoon permitted seed butter, optional
Preparation and Packing
- Cut the cheese into manageable slices or cubes.
- Place the cheese and turkey in one compartment.
- Put the crackers in a completely dry compartment.
- Wash and dry the fruit and vegetables.
- Cut the produce into an age-appropriate shape.
- Place hummus or seed butter in a leak-resistant cup.
- Pack all perishable ingredients with a frozen cold source.
Make-Ahead Notes
The cheese, meat, and vegetables can be portioned the evening before. Keep crackers outside the refrigerator overnight and add them in the morning so they remain crisp.
Check the school’s allergy rules before including seed butter, hummus containing sesame, or any nut product.
3. Peanut Butter and Jelly Lunch
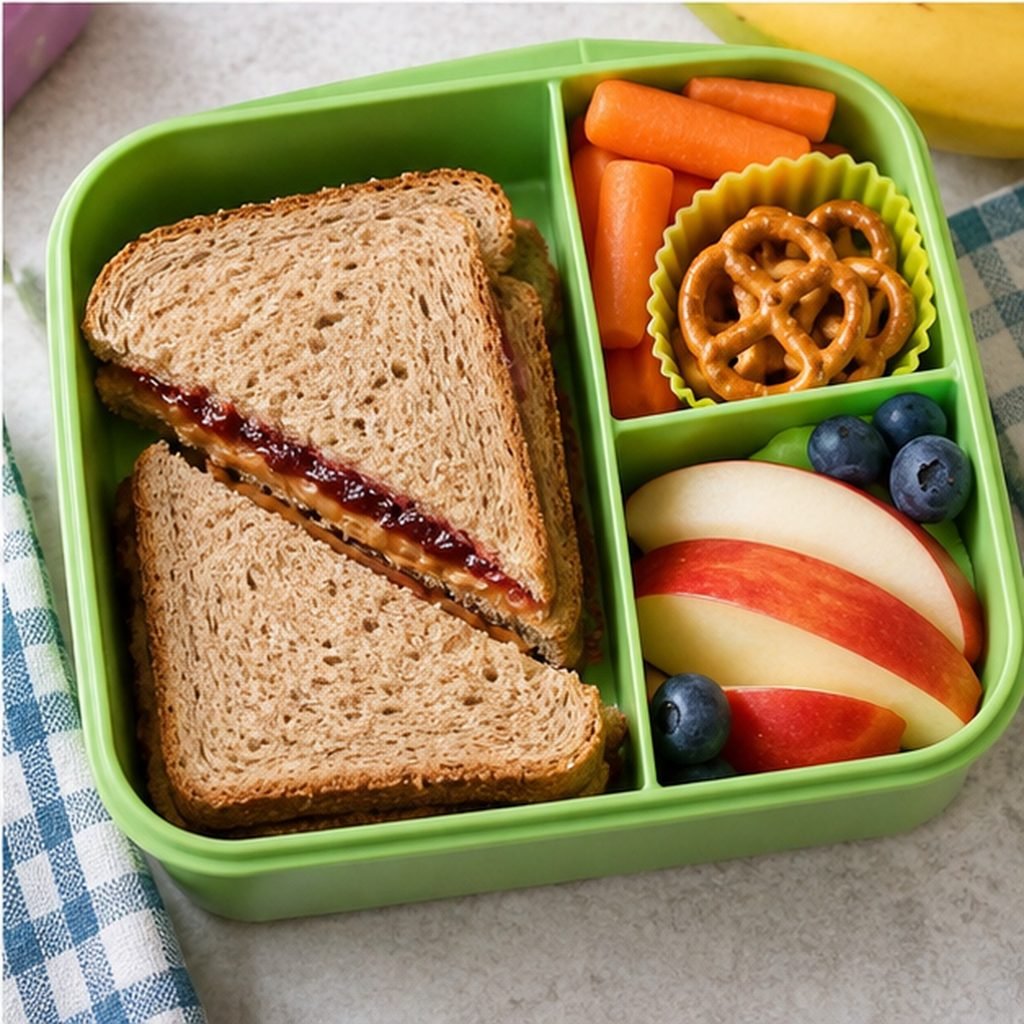
Ingredients for One Lunch
- 2 slices whole-grain bread
- 1 1/2 tablespoons peanut butter or school-approved seed butter
- 1 tablespoon fruit spread or jam
- 1/2 cup apple slices, berries, or another fruit
- 1/3 cup cucumber or carrot pieces
- 1 cheese stick or 1/2 cup yogurt, optional
Preparation and Packing
- Check that peanut butter is permitted under the school’s allergy policy. Use an approved seed butter when necessary.
- Spread the peanut or seed butter over both bread slices. This layer helps prevent the jam from soaking into the bread.
- Spread the fruit jam thinly over one slice.
- Close the sandwich and cut it into halves or quarters.
- Pack the sandwich in a fitted compartment or reusable sandwich container.
- Dry the fruit and vegetables before packing them separately.
- Add a frozen cold source when packing yogurt, cheese, or cut produce.
Make-Ahead Notes
The sandwich can be prepared the evening before and refrigerated in a tightly closed container. Do not use excessive jam because it can leak from the sandwich and soften the bread.
Apple slices can be treated with a small amount of lemon juice to slow browning, but they should be dried before being placed in the lunchbox.
4. Mini Waffle and Yogurt Box
Ingredients for One Lunch
- 2 mini whole-grain waffles
- 1/2 cup plain or lightly sweetened Greek yogurt
- 1/2 cup berries or sliced fruit
- 1 tablespoon maple syrup in a sealed cup, optional
- 1/3 cup cucumber or sweet-pepper strips
- 1 tablespoon granola, optional
Preparation and Packing
- Cook the waffles according to a tested recipe or the product’s instructions.
- Cool the waffles completely on a rack before packing them.
- Place the yogurt in a leak-resistant container.
- Wash and dry the berries or sliced fruit.
- Keep granola and syrup separate from the yogurt until lunchtime.
- Place the vegetables in a dry compartment.
- Transport the lunch in an insulated bag with a frozen ice pack.
Make-Ahead Notes
Cooked mini waffles can be refrigerated or frozen in advance. A frozen waffle may help keep the lunch cool as it thaws, but it should still be packed with a proper cold source when the lunch contains yogurt or cut fruit.
Do not close warm waffles inside the lunchbox because trapped steam will make them soft.
5. Ham and Cheese Rolls
Ingredients for One Lunch
- 3 thin slices ready-to-eat ham, approximately 2 ounces
- 3 thin cheese slices, approximately 1 ounce
- 1/2 cup whole-grain crackers
- 1/3 cup cucumber or bell-pepper strips
- 1/2 cup fruit
- 2 tablespoons hummus, optional
Preparation and Packing
- Check the ham’s product label and keep it refrigerated until preparation.
- Lay the ham slices flat on a clean board.
- Place one appropriately sized cheese slice over each piece of ham.
- Roll each piece tightly and arrange the rolls seam-side down.
- Cut the rolls into smaller pieces when needed for the child’s age and chewing ability.
- Pack the crackers in a dry compartment.
- Add the fruit and vegetables.
- Keep the lunch cold with a frozen ice pack.
Make-Ahead Notes
The rolls can be assembled the evening before and stored in a sealed container in the refrigerator. Keep crackers separate until the morning.
Processed meats can contain considerable sodium. Check the product label when sodium intake is a concern, and rotate this lunch with options based on eggs, beans, yogurt, or chicken.
6. Pasta Salad Box
Ingredients for One Lunch
- 1 cup cooked short pasta, completely cooled
- 1 teaspoon olive oil or 1 tablespoon mild dressing
- 1/4 cup halved cherry tomatoes or diced bell pepper
- 1/4 cup diced cucumber
- 1 ounce cheese cubes
- 1/3 cup drained chickpeas
- 1/2 cup fruit
Preparation and Packing
- Cook the pasta until just tender.
- Drain it thoroughly and transfer it to a shallow container.
- Refrigerate the pasta promptly until completely cold.
- Toss the cooled pasta with the olive oil or dressing.
- Add the cucumber, bell pepper or tomatoes, cheese, and chickpeas.
- Mix gently until the ingredients are distributed.
- Pack the pasta salad in a sealed container.
- Place the fruit in a separate compartment.
- Keep the entire lunch at 40°F (4°C) or colder with frozen cold sources.
Make-Ahead Notes
The pasta salad can be prepared the evening before. Watery vegetables and excessive dressing can make the pasta soft, so drain the vegetables and apply the dressing lightly.
Do not place warm pasta directly inside a closed lunchbox. Cool it promptly in a shallow container before combining it with cheese or vegetables.
7. Mini Quesadilla
Ingredients for One Lunch
- 1 small flour tortilla
- 1/2 cup shredded cheese
- 1/3 cup drained beans or 2 ounces fully cooked chicken
- 2 tablespoons salsa in a leak-resistant cup
- 1/3 cup bell-pepper or cucumber strips
- 1/2 cup fruit
Preparation and Packing
- Place the cheese over one half of the tortilla.
- Add the drained beans or cooked chicken.
- Fold the empty half of the tortilla over the filling.
- Cook the quesadilla in a dry skillet until the cheese melts and both sides are lightly browned.
- Transfer it to a rack and allow it to cool completely.
- Cut it into two or three manageable triangles.
- Pack the salsa in a separate sealed cup.
- Add the vegetables, fruit, and a frozen cold source.
Make-Ahead Notes
The quesadilla can be cooked the evening before and refrigerated after it has cooled. Allowing it to cool on a rack prevents steam from collecting underneath.
Do not apply salsa directly to the tortilla before packing because the liquid can make the quesadilla soggy.
8. Celery and Peanut Butter Snack Box
Ingredients for One Lunch
- 2 medium celery stalks
- 2 tablespoons peanut butter or school-approved seed butter
- 1/2 cup whole-grain crackers
- 1 ounce cheese
- 1/2 cup fruit
- 1 hard-cooked egg or another approved protein, optional
Preparation and Packing
- Check the school’s allergy policy before using peanut butter.
- Wash the celery thoroughly under running water.
- Dry it and cut it into short, age-appropriate pieces.
- Spread the peanut or seed butter inside the celery or place it in a sealed dipping cup.
- Cut the cheese into manageable pieces.
- Pack the crackers in a dry compartment.
- Add the fruit and optional cold protein.
- Use an insulated bag and frozen cold source for perishable components.
Make-Ahead Notes
Celery can be washed and cut the evening before. Store it in a sealed container in the refrigerator to limit moisture loss.
Sticky spoonfuls of nut or seed butter can present a choking risk for young children. Spread it thinly over the celery or another food instead of serving it as a thick lump.
9. Chicken Wrap
Ingredients for One Lunch
- 1 medium 8-inch flour tortilla
- 2 ounces fully cooked chicken
- 1 ounce sliced or shredded cheese
- 1 tablespoon cream cheese or hummus
- 1/3 cup dry cucumber or bell-pepper strips
- 1/2 cup fruit
Preparation and Packing
- Cook raw chicken to an internal temperature of 165°F (74°C).
- Cool the chicken promptly in the refrigerator.
- Spread the cream cheese or hummus thinly over the tortilla.
- Add the cold chicken, cheese, and thoroughly dried vegetables.
- Avoid adding too much filling.
- Roll the tortilla tightly.
- Refrigerate it for approximately 15 minutes before cutting.
- Slice the wrap into four to six pieces or leave it whole.
- Pack it with the fruit and a frozen cold source.
Make-Ahead Notes
The wrap can be assembled the evening before. All cooked chicken must be completely cold before it is added to the tortilla.
Keep juicy vegetables and sauces separate. If the wrap repeatedly becomes soggy, use cheese or dry lettuce as a barrier between the tortilla and the moist ingredients.
Adjusting the Portions
The quantities in this guide describe practical lunchbox starting points, not medical nutrition prescriptions.
Increase or reduce them according to the child’s age, appetite, lunch period, activity level, and the amount of food that regularly returns home. Children with allergies, diabetes, swallowing difficulties, or other medical requirements may need an individualized plan from a qualified professional.
Food-Safety Checklist
Clean Preparation
- Wash your hands before preparing the lunch.
- Use clean utensils, cutting boards, containers, and work surfaces.
- Wash fresh produce under running water.
- Keep raw meat and poultry away from ready-to-eat food.
- Wash any surface or utensil that contacted raw ingredients.
Keep Perishable Food Cold
Keep perishable food at 40°F (4°C) or colder. When school refrigeration is unavailable, use an insulated lunch bag and frozen cold sources.
USDA guidance recommends using at least two cold sources for perishable bag lunches. These may include frozen gel packs, frozen water bottles, or frozen juice containers.
Ingredients requiring temperature control include:
- Cooked chicken and turkey
- Ham and other lunch meats
- Cheese
- Yogurt
- Eggs
- Cooked pasta
- Cut fruit and vegetables
- Hummus
- Leftovers
Cool Cooked Food Promptly
Refrigerate cooked food in shallow containers within two hours. Reduce this limit to one hour when the surrounding temperature is above 90°F (32°C).
Do not close a lunchbox around warm pasta, chicken, quesadillas, waffles, or other cooked food. Trapped heat produces condensation and delays safe cooling.
Cook Food to Safe Temperatures
FoodSafety.gov provides the following minimum internal temperatures:
- Poultry: 165°F (74°C)
- Reheated leftovers: 165°F (74°C)
- Ground meat: 160°F (71°C)
- Whole cuts of beef or pork: 145°F (63°C), followed by a three-minute rest
Use a clean food thermometer instead of relying on color.
Reduce Choking Risks
For younger children, modify food according to their chewing ability.
- Quarter grapes lengthwise.
- Cut firm fruit and vegetables into suitable pieces.
- Avoid serving thick spoonfuls of nut or seed butter.
- Cut meat and cheese into manageable pieces.
- Follow school rules concerning skewers or food picks.
- Avoid hard, round, sticky, or difficult-to-chew foods when they are unsuitable for the child.
Check the School’s Allergy Policy
Never assume that peanuts, tree nuts, sesame, hummus, or other allergens are permitted.
Read ingredient labels carefully and prevent cross-contact during preparation. Use only substitutions that are safe for the individual child and permitted by the school.
Preventing Soggy Lunches
Keep Wet and Dry Foods Separate
Use leak-resistant cups for salsa, hummus, yogurt, syrup, dressing, and juicy fruit.
Crackers, waffles, and bread should remain in dry compartments. Add granola to yogurt only when the lunch is ready to be eaten.
Cool Cooked Components
Place cooked pasta, quesadillas, waffles, and chicken on a rack or inside a shallow refrigerated container until completely cold.
Warm food releases steam inside a closed lunchbox. That steam softens bread, tortillas, crackers, and other foods intended to remain dry.
Use Moisture Barriers
A slice of cheese, dry lettuce leaf, peanut butter, seed butter, or another thick spread can act as a barrier between bread and a moist filling.
Avoid using excessive jam, mayonnaise, salsa, dressing, or watery vegetables.
Reviewing What Comes Home
An uneaten lunch component provides useful information. Ask whether the problem involved:
- Flavor
- Temperature
- Texture
- Portion size
- Difficult packaging
- Insufficient eating time
- An unfamiliar ingredient
Change one factor at a time. If food repeatedly returns uneaten, reduce the portion instead of adding more choices.
A simple lunch that the child can open, eat, and finish safely is more useful than an elaborate box containing too