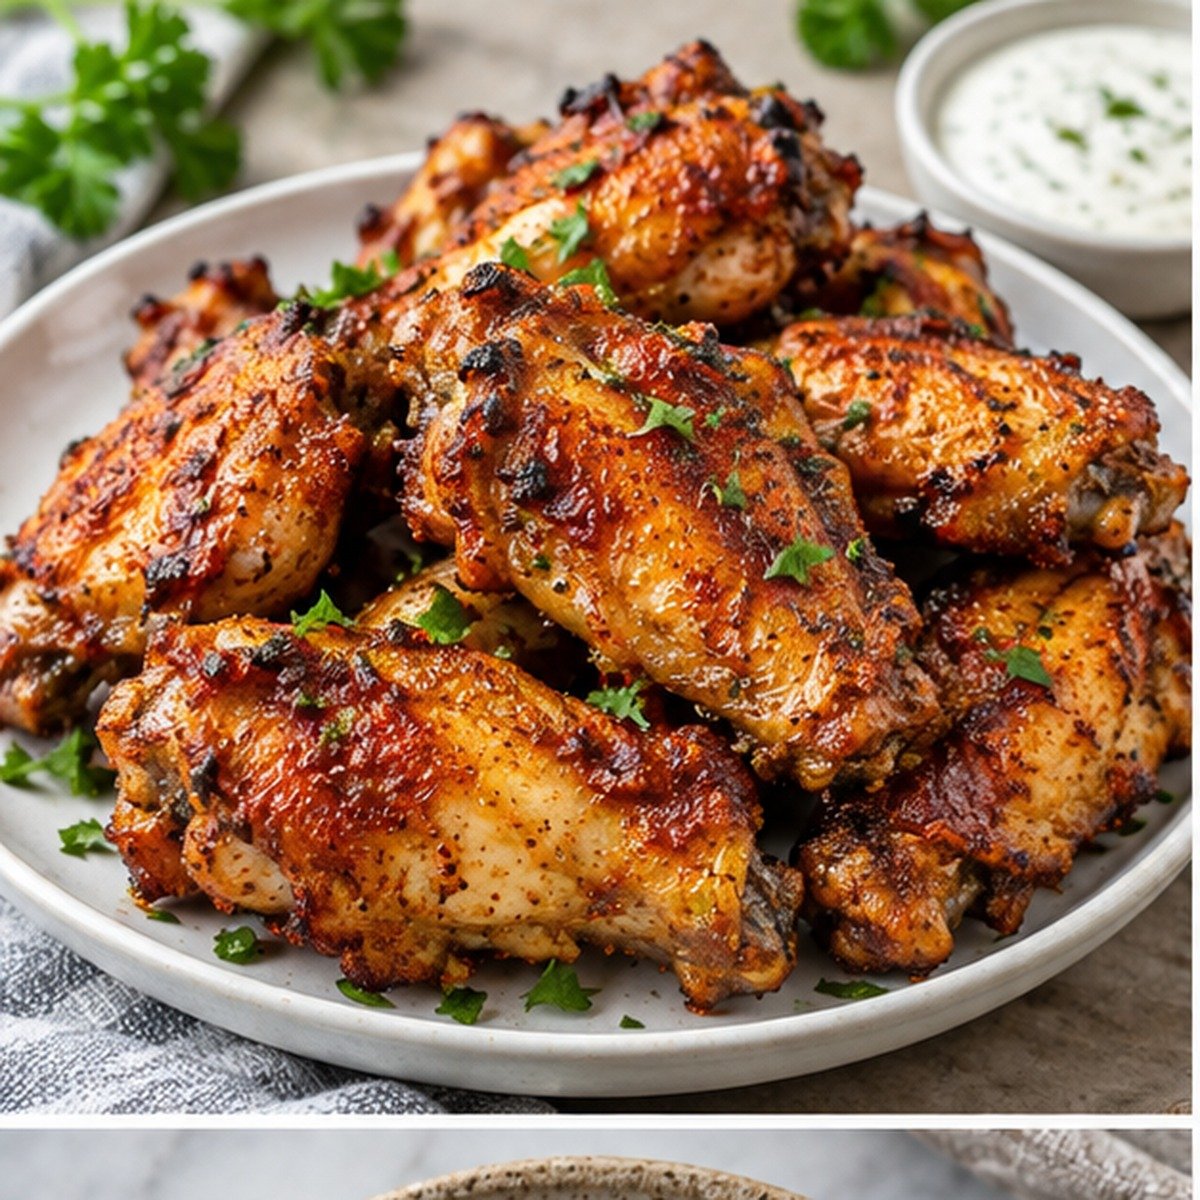

This method uses the quantities and core technique shown in the Pin, then checks the cooking guidance against published air-fryer methods and official poultry safety advice. Air fryers vary in basket shape, fan strength, and actual temperature, so time is a range and doneness must be confirmed with a food thermometer.
Ingredients
- 2 pounds chicken wings, separated into flats and drumettes
- 1 tablespoon avocado oil or another high-smoke-point cooking oil
- 1 teaspoon salt
- 1/2 teaspoon black pepper
- 1 teaspoon garlic powder
- 1/2 teaspoon paprika
- 1/2 teaspoon aluminum-free baking powder, optional for a crisper surface
Method
Step 1
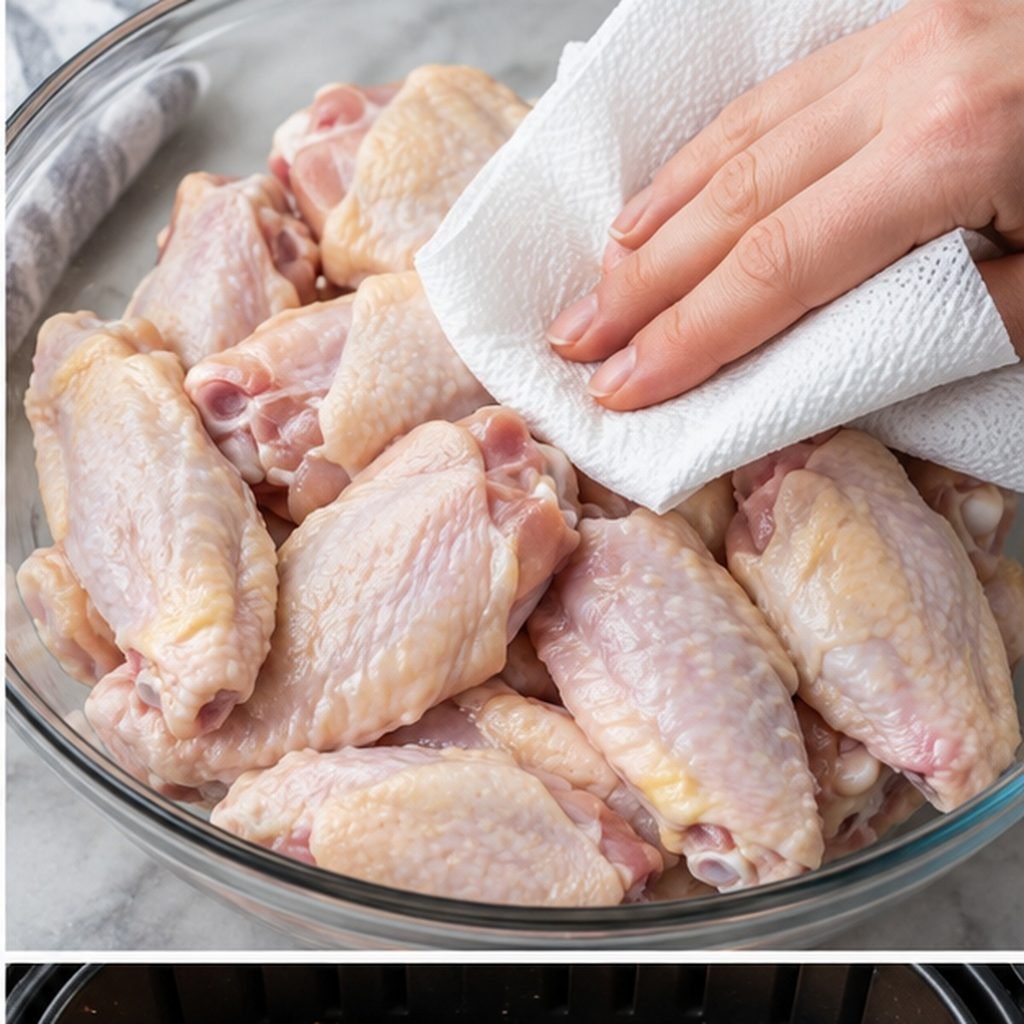
Pat the wings thoroughly dry with paper towels. Surface moisture delays browning and can make the skin steam.
Step 2
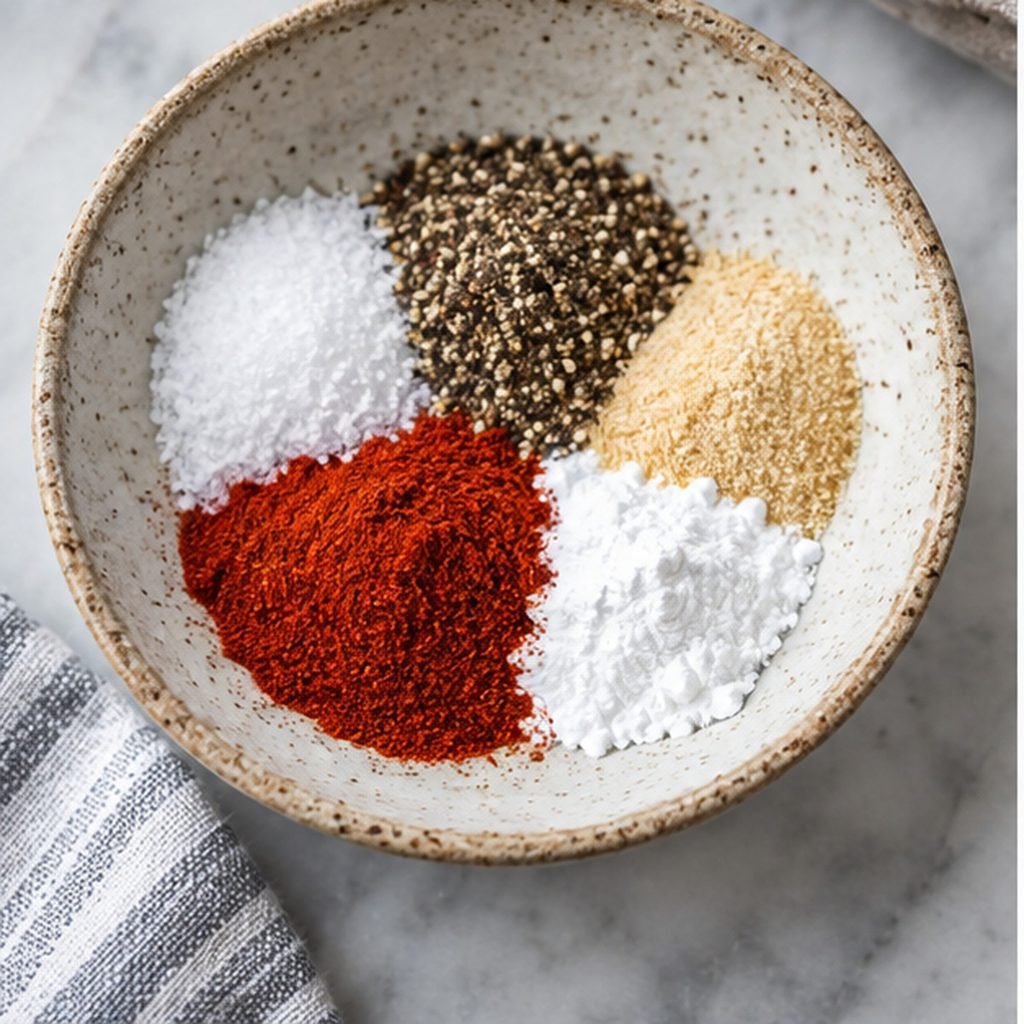
Mix the salt, pepper, garlic powder, paprika, and baking powder. Toss the dry wings with the oil, then coat evenly with the seasoning.
Step 3
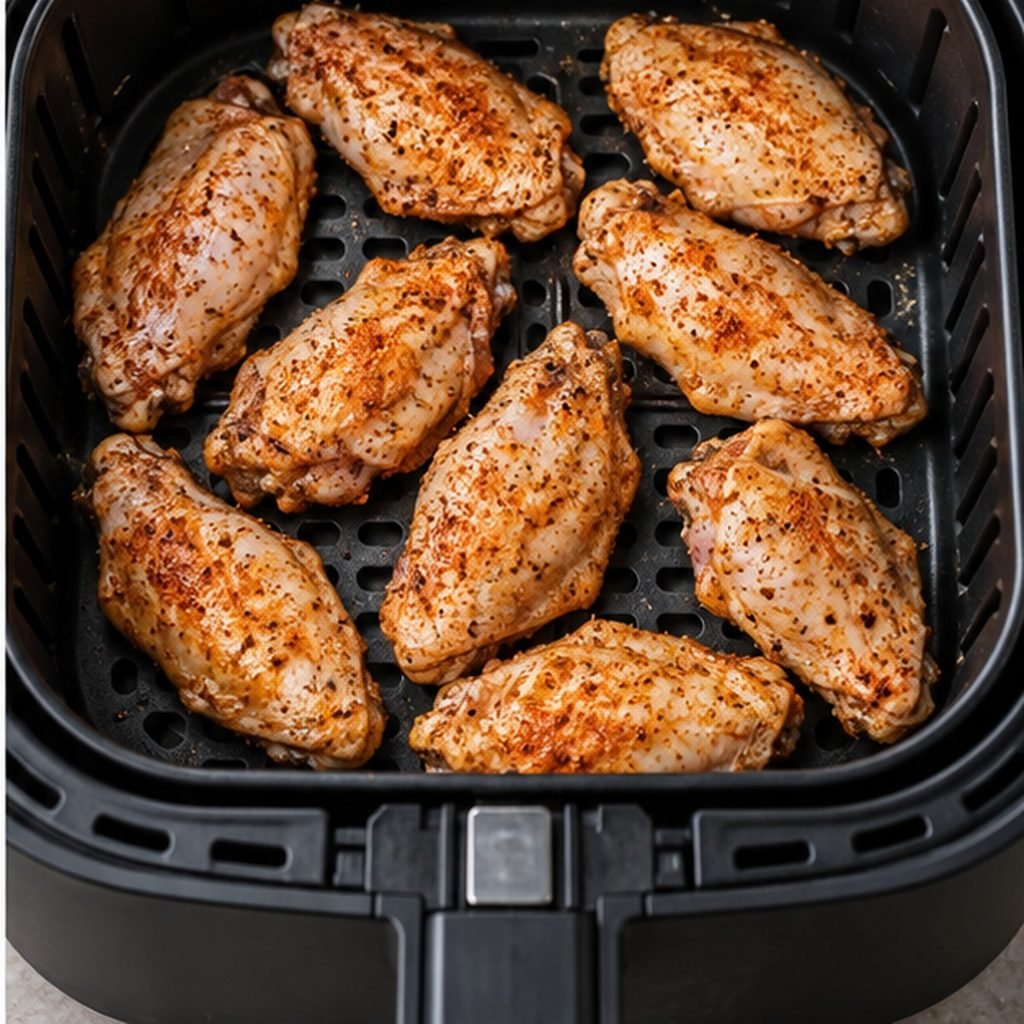
Arrange the wings in one layer with a little space between pieces. Cook in batches rather than stacking them.
Step 4
Air fry at 400°F or 200°C for about 20 to 25 minutes, turning halfway. The Pin gives this range, and a published Serious Eats method also uses 400°F for about 25 minutes.²
Step 5
Check several of the thickest pieces without touching bone. Poultry must reach at least 165°F or 74°C. Continue cooking in short increments if necessary.¹
Step 6
Serve plain or toss with sauce only after the skin is crisp. Wet sauce softens the surface over time, so serve immediately.
Why the Method Works
Drying the skin and leaving space around each wing improves contact with the moving hot air. Baking powder is optional; it raises the skin’s pH and can encourage browning and blistering. It is not the same as baking soda, which tastes alkaline in this quantity. The small amount of oil helps the dry seasoning adhere and promotes even color.
Turning halfway compensates for air fryers that heat more strongly from above. Some oven-style machines circulate air differently and may not require a turn, but checking gives more consistent results across models. Always follow the appliance manual if it sets a lower maximum temperature or a different basket-loading rule.
Seasoning and Sauce Options
Buffalo
Toss hot wings with a mixture of hot sauce and melted butter. Add sauce gradually so the skin stays crisp.
Garlic Parmesan
Combine a small amount of melted butter or olive oil with garlic and finely grated Parmesan. Add after cooking.
Lemon Pepper
Finish with lemon zest and pepper. Use lemon juice sparingly because excess liquid softens the skin.
Barbecue
Brush on a thin layer during the final few minutes, watching closely because sugar can scorch.
Dry seasoned
Increase paprika, garlic, or dried herbs without adding a wet sauce. Avoid seasoning blends with so much sugar that they burn at high heat.
Common Problems
Pale wings usually need more drying, more space, or a short additional cook. Burned spices often indicate a sugary rub or an air fryer that runs hot. If the outside browns before the center reaches 165°F, reduce the temperature and continue cooking. Never judge poultry safety by color alone.
Storage and Reheating
Refrigerate cooked wings within two hours and use a shallow covered container. Reheat in the air fryer until steaming hot; an internal temperature of 165°F is the safest target for leftovers. Reheating restores some crispness, but freshly cooked wings have the best texture.
Frequently Asked Questions
Do I need to preheat the air fryer?
Preheating can improve early browning, but appliance instructions differ. If the manual recommends preheating, do it before adding the wings.
Can I use frozen wings?
Frozen wings release more water and usually need a different schedule. Use a recipe written for frozen wings and verify 165°F internally.
Can I stack the wings?
No. A crowded basket limits airflow and produces uneven browning.
Is baking powder required?
No. Thoroughly dried wings can crisp without it, as the Serious Eats comparison found.
Why are cooking times different online?
Wing size, starting temperature, basket load, wattage, and air-fryer design all change the time.
Can I bread these wings?
Yes, but a breaded recipe needs a different coating ratio and often a light oil spray. The method here is for seasoned skin-on wings.
Ingredient Selection
Choose ingredients of similar size so they finish at roughly the same time. Freshness affects both moisture and texture: wet surfaces slow browning, while dried-out food can become tough before it colors. When a recipe names a particular cut, mushroom type, sausage size, or bread thickness, changing it may require a different schedule. Treat the first batch in any appliance as a calibration batch and check it earlier than the stated finish.
Preparing the Air Fryer
Place the appliance on a stable, heat-resistant surface with the clearance required by its manual. Make sure the basket and drip area are clean because old grease can smoke. Preheating is model-dependent; some recipes benefit from it, while some manufacturers do not require it. Never cover vents, and never use paper or foil in a way that can lift into the heating element.
Controlling Browning
Browning depends on surface dryness, temperature, oil, sugar, and space around the food. A thin coat of oil can help, but more oil does not guarantee more crispness. Sugary marinades and sweet sauces darken quickly, so add them late or reduce the temperature. If the outside colors too fast, lower the heat and continue until the center is properly cooked.
Working in Batches
A single layer is more reliable than a packed basket. When food overlaps, the covered surfaces receive less moving hot air and release steam into the basket. Keep the first batch warm only if it can be held safely, and remember that a hot appliance may cook the second batch faster. Record the successful load size and time for the specific machine.
Using a Food Thermometer
Insert the probe into the thickest edible part without touching bone, the basket, or a large pocket of fat. Check more than one piece when sizes differ. A thermometer confirms safety for meat and poultry, while texture and color guide quality. Clean the probe between raw and cooked checks according to the thermometer manufacturer’s instructions.
Scaling the Recipe
Doubling ingredients does not mean doubling the cooking time. A larger quantity usually requires more batches because airflow is the limiting factor. Keep seasoning proportional, but add salt cautiously when cheese, soy sauce, cured meat, or a commercial blend is involved. For a smaller batch, check earlier because the basket may heat and circulate air more efficiently.
Serving the Food
Air-fried food is usually crispest immediately after cooking. Move it to a rack rather than a closed bowl if it must wait briefly; trapped steam softens the surface. Add wet sauces just before serving. Let very hot fillings, berries, cheese, and dense foods cool enough to eat safely, especially when serving children.
Storage
Refrigerate perishable cooked food within two hours, or within one hour in very hot conditions. Use shallow containers so food cools efficiently. Label and date leftovers rather than relying on memory. Reheating can restore some surface texture, but it does not make food safe if it was stored improperly before refrigeration.
Reheating
Preheat if the appliance manual recommends it, then reheat in a single layer at a moderate temperature so the exterior does not burn before the center is hot. Turn or shake once. For cooked leftovers containing meat or poultry, heat to 165°F or 74°C. Reheat only the amount that will be served.
Recipe Testing at Home
Because the Pin and cited recipes cannot account for every appliance, use observable checkpoints. Note the weight or size of the food, starting temperature, basket load, set temperature, check time, final temperature, and texture. Those notes create a repeatable household method without pretending that one published minute count works in every air fryer.
Seasoning Adjustments
Taste seasoning blends before adding extra salt, provided they contain no raw ingredient that makes tasting unsafe. Garlic powder, onion powder, paprika, pepper, dried herbs, citrus zest, and finely grated hard cheese behave differently under high heat. Apply delicate fresh herbs after cooking. If a seasoning burns, reduce the heat or add that ingredient later next time.
Cleaning After Cooking
Allow the appliance to cool and unplug it before cleaning. Remove grease and food residue according to the manual, using nonabrasive tools on coated baskets. A clean basket improves airflow and reduces smoke in later batches. Do not immerse electrical parts, and do not assume a removable component is dishwasher-safe unless the manufacturer says it is.
Checking the First Batch
Begin checking several minutes before the proposed finish. Open the basket, examine browning, turn or shake the food, and measure temperature where safety requires it. If more cooking is needed, use short increments. This avoids turning a reasonable estimate into a rigid promise. Once the batch is successful, note the final time for that food size, quantity, and machine.
Avoiding Cross Contamination
Keep raw meat and poultry separate from produce and ready-to-eat ingredients. Use separate plates or wash them thoroughly between uses. Do not return cooked food to a bowl that held the raw seasoned food. Wash hands with soap after handling raw ingredients, and clean the counter, utensils, thermometer probe, and basket surfaces that were contaminated.
Sources
- FoodSafety.gov. Cook to a Safe Minimum Internal Temperature.
https://www.foodsafety.gov/food-safety-charts/safe-minimum-internal-temperatures - Serious Eats. The Definitive Guide to Perfect Air Fryer Wings.
https://www.seriouseats.com/the-definitive-guide-to-perfect-air-fryer-wings - BBC Good Food. Air fryer sausages. https://www.bbcgoodfood.com/recipes/air-fryer-sausages
- Andi Anne. Easy Air Fryer Side Dish Recipes. https://andianne.com/air-fryer-side-dishes/